QuickBooks Online has a built-in Account Number field for customers — but it's hidden by default and assigning numbers manually is tedious. Here's how to enable it, use it, and automate the process.
What is the Account Number field?
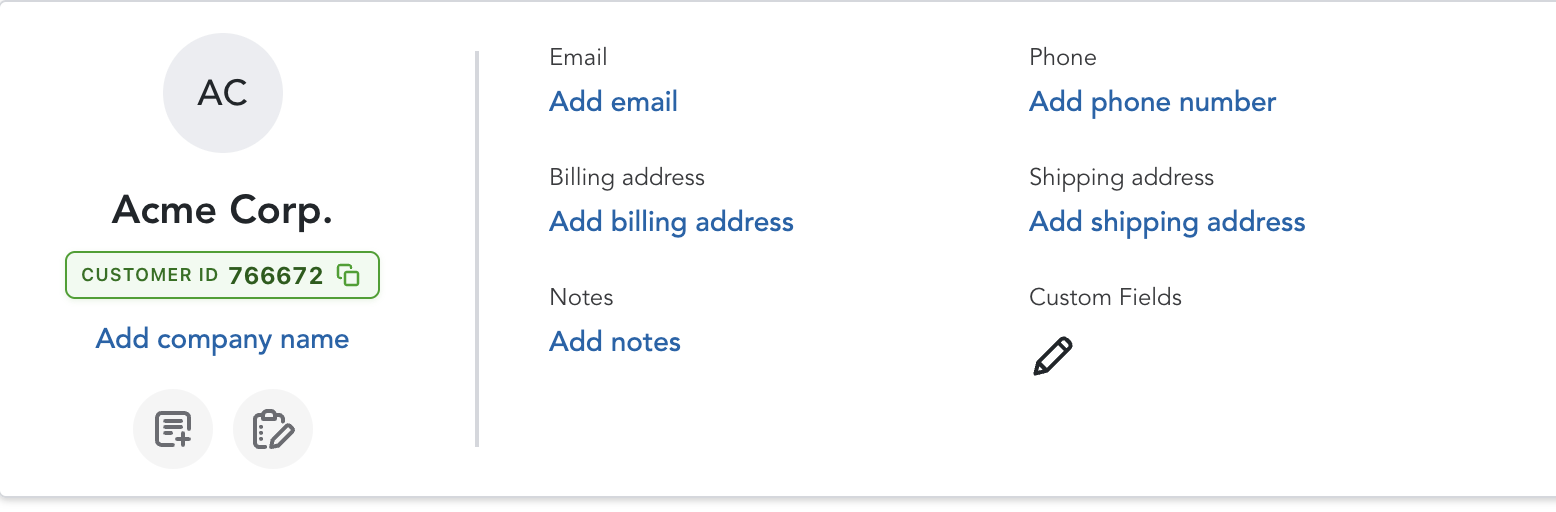
Every customer record in QuickBooks Online has an "Account Number" field. When populated, this number:
- Appears in the customer list and search results
- Prints on invoices and statements
- Shows up in reports
- Is accessible through the QuickBooks API
It's essentially a customer ID field — but QuickBooks doesn't fill it in for you. By default, every customer's account number is blank.
How to assign account numbers manually
Step 1: Open a customer
Navigate to Customer Hub > Customers and click on the customer you want to edit.
Step 2: Click Edit
Click the Edit button in the top right corner of the customer detail page.
Step 3: Find the Account Number field
Scroll down to the "Other" section. You'll see an Account no. field. Type in the number you want to assign.
Step 4: Save
Click Save. The account number is now attached to that customer.
If you have 50, 200, or 1,000+ customers, doing this one at a time isn't realistic. You'd need to open each customer, click Edit, scroll to the field, type a number, and save — for every single customer. And every new customer you add starts with a blank account number again.
How to assign account numbers automatically
The CustomerID for QuickBooks Chrome extension automates the entire process. It writes a unique number to every customer's Account Number field in one sync — and auto-assigns numbers to new customers as they're created.
Here's how it works:
- Install the extension from the Chrome Web Store and enter your license key
- Connect QuickBooks — authorize read/write access to your QB account
- Click Sync — CustomerID writes an account number to every customer in your account
That's it. Every customer now has a visible account number. New customers get one assigned automatically.
Choosing your numbering scheme
CustomerID offers two modes:
- QuickBooks IDs — uses QB's internal customer IDs (1, 2, 3, etc.). These match what APIs and integrations reference.
- Custom starting number — start from any number you want. If you set it to 1001, your customers get numbered 1001, 1002, 1003, and so on.
Custom numbers are useful if you already have a numbering system in another tool and want QuickBooks to match.
Migrating existing customer numbers
Many QuickBooks users have been putting numbers directly in customer display names — like "1042 — Acme Corp" or "CUST-200 Smith LLC". This works as a workaround but clutters the customer list and doesn't populate the actual Account Number field.
CustomerID includes a Migration Tool that:
- Scans your customer display names for numbers
- Moves the number to the Account Number field
- Cleans up the display name (so "1042 — Acme Corp" becomes just "Acme Corp")
- Continues numbering new customers from your highest existing number
The migration runs in one click and preserves your existing numbering.
Assign account numbers to every customer in one click.
CustomerID writes to QB's Account Number field automatically. New customers get numbered as they're created. $5/month.
Get StartedSummary
QuickBooks Online has a built-in Account Number field, but it's empty by default and tedious to fill in manually. The CustomerID extension automates the process — assigning numbers to all your customers in one sync and keeping new customers numbered automatically. Numbers print on invoices, appear in reports, and work with the QB API.